Thank you to all the bloggers who have shared their Olympic
party ideas in the past. It made it so
much easier to plan a party with their fun ideas. Have you held an Olympic Party yet? Go for it, you will have so much fun. All the pins I used for inspiration are on my
Olympics board at https://www.pinterest.com/dorisgarner/olympics/
A few weeks before a big family party, I like to send out an
invitation. It adds to the anticipation
of the party
This quote fits perfectly with our Olympic Activity:
"If your parents
ever measured you as a child, they had you stand against a wall, and made a
little pencil mark on the wall to show your growth. They did not measure you
against your brother, or the neighbor's kids, or kids on tv. When you measure
your growth, make sure to only measure your today self by your past self. If
you compare your relationships, your success, or your anything against anyone
else, you are not being fair to you. Everyone has a different path, a different
pace, and different challenges to face along the way!" ( Doe Zantamata)
Pre-party events included:
Measuring the Olympic Athletes (We measure the grandkids once a year on the
wall)
We learned what the Olympic
rings stand for and their colors then everyone made their own Olympic rings
shirt. Cups worked very well to make a
circle on the shirts!! Always remember
to put cardboard in the shirt so the paint doesn’t bleed through on to the back
of the shirt J
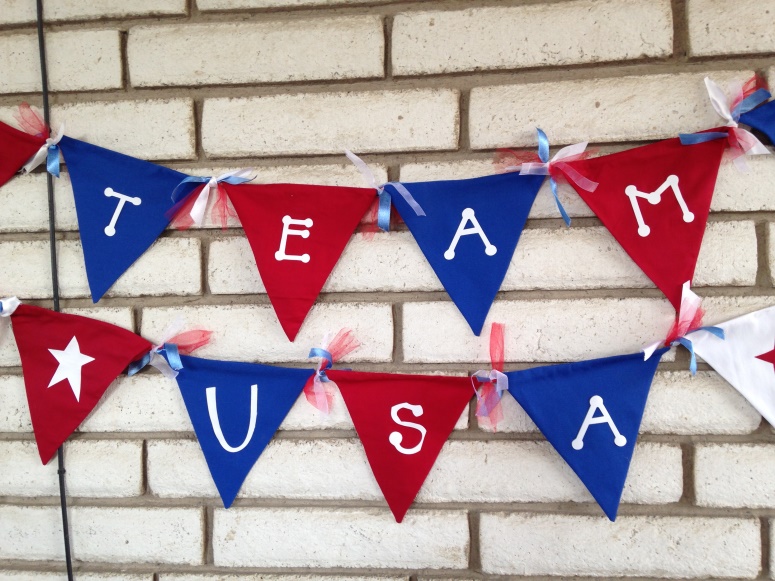
Some
Random, easy decorations to add to the
atmosphere of the Olympic Party:
The morning of the Olympic Event we met for a simple BREAKFAST
OF THE CHAMPIONS
After running the torch, singing the National Anthem and
learning about Sportsmanship we did a team photo shoot
We did warm-ups to
get ready for the Track and Field events
( which gave the
adults time to set up the games)
LET THE GAMES BEGIN:
We chose to do Track and Field Events in the morning before
it got too hot. We competed in:
Long Jump, Shot Put, Discus Throw, hurdles, javelin throw,
50 yard dash and a relay!
Time for a “RIO” taco lunch:
Oops, I forgot the “Blue” Chips for the blue ring
Olympic Ring Donuts
I wonder if the
bakery realized why I wanted such random colors!!
In the afternoon we
chose to do our events indoors because of the heat outside. We headed to Fat Cat’s for .99c Bowling and
Golf. Bowling isn’t an Olympic event
yet but is on the potential list. This
is the first year for Golf to be in the Olympics in over 100 years!!
The kids had a great
time doing the SHOOTING EVENT with the Olympic rings as the target with their
Nerf guns.
One thing I forget but need to remember, is that the kids have great ideas and I should
include them in the planning more. This
event was totally planned by the kids and they had a great time
We took some time for
the Athlete’s to have some photo shoot’s
Oh I love these
kids!!
Dinner was just
Pizza….Pizza’s are round like the Olympic rings right? J
It’s a tradition at
our Cousin Camp to make “Tin Can Ice Cream”
Some of the kids considered it a Soccer Olympic event kicking it back
and forth to each other. All I know is…
it was Olympic Quality Ice Cream!
I loved that the
girls even made Olympic ring colors on their ice cream!!
Closing Ceremonies
were held admonishing the Athletes to always remember how important they are
and to be the best they can be in whatever they choose to do. Then they all received Gold Medals because
all my grandkids are Champions!!!
It was a full day of
fun!! I am grateful to my daughter and
daughter in law for all the pictures, because you can’t run the activities AND
take pictures J Our Grandkids showed great stamina, superb
sportsmanship and most of all created memories with their cousins that
hopefully last forever.